
When I started looking into specially-designed nursing tops, I noticed one thing that they all have in common--they are expensive (as in $17-70 expensive)! I made this nursing tank for about $8. This pattern/tutorial will show you how to make it. Here's what you will need:
-Two tank tops of the same size (I would suggest the same color also, but whatever floats your boat. I got mine at Wal-Mart for about $3 each)
-Thread to match
-A sewing machine, unless you really want to sew by hand, but it will take a lot longer that way
-Sewing pins and a safety pin
-3/8" braided elastic (the amount will vary here, depending on the measurement under your bust)
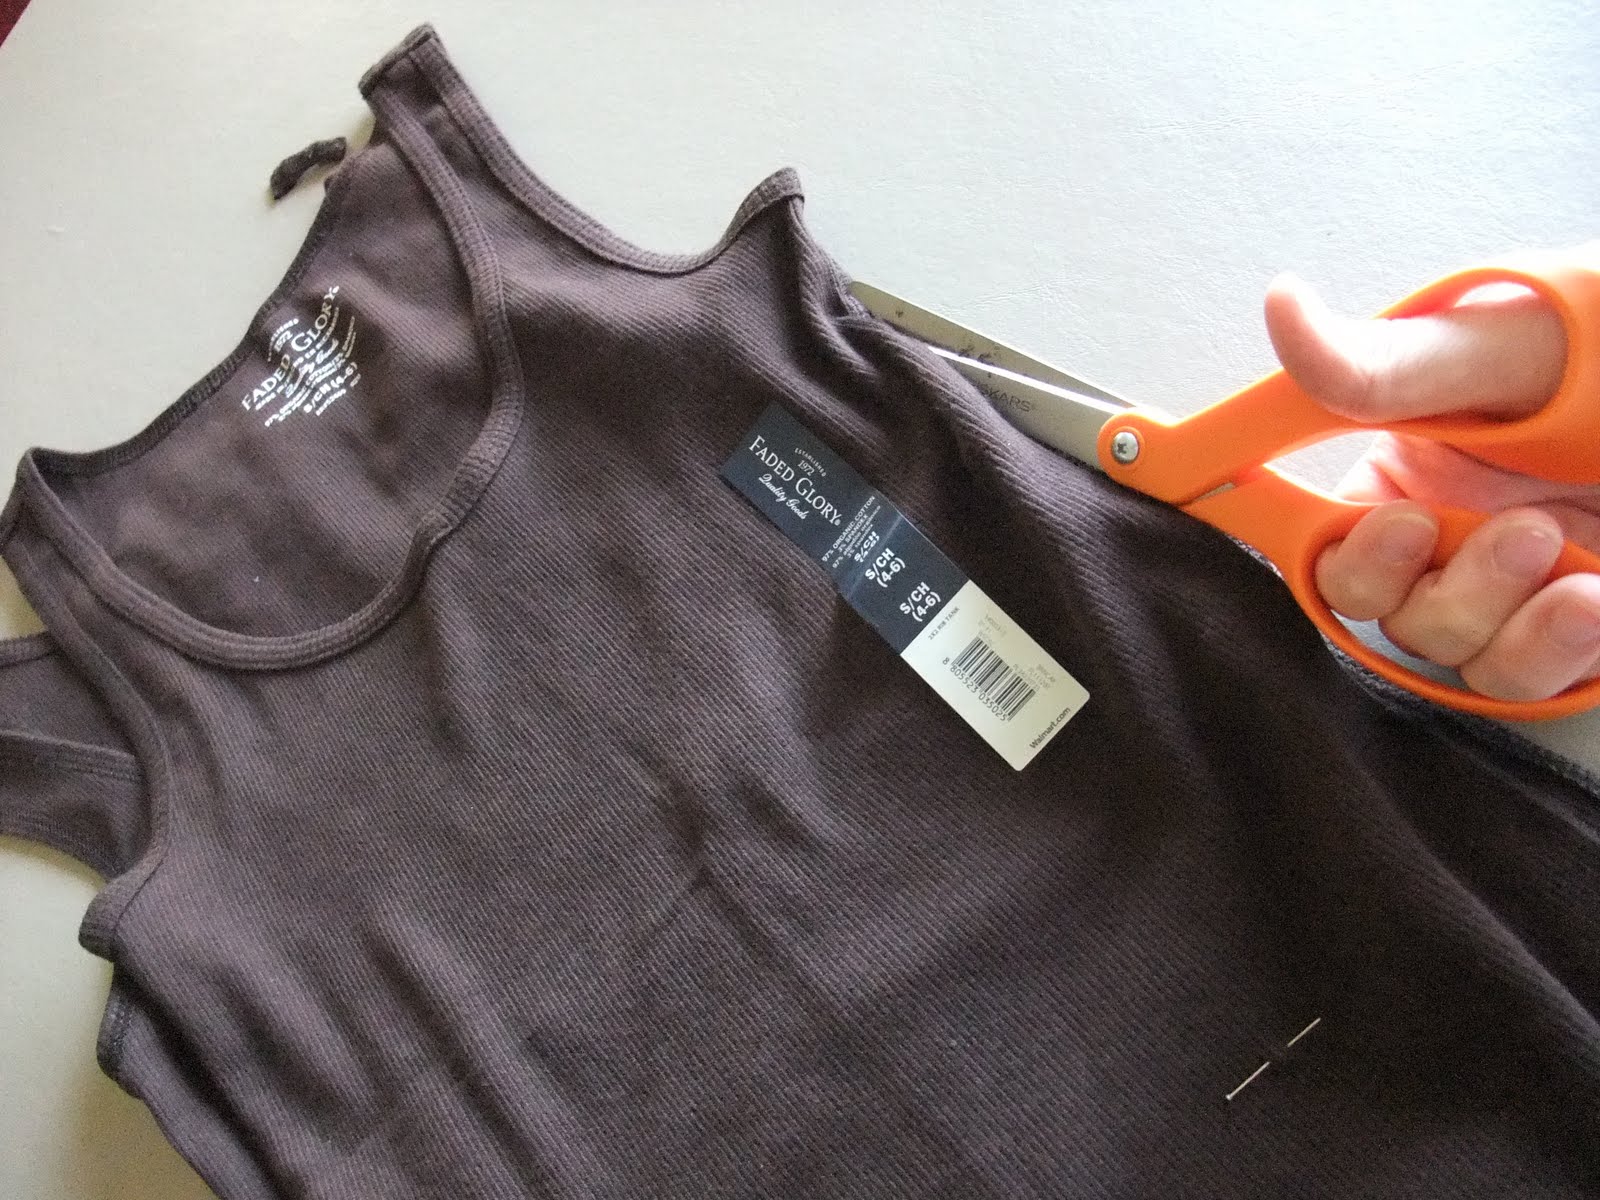
-Sharp scissors
1. Put on one of the tank tops. While wearing the tank top, cut a vertical slit centered over each side of your bra (big enough to allow easy access). This will be the "under" tank top.

Using a wide zig zag stitch with a fairly short stitch length, zig zag around each opening. Make sure that one side of the stitch comes OFF the fabric. This will help the raw edges not to fray in the wash. Also, pull on the fabric just a little bit as you are going around. This will ensure that the openings can stretch a bit.

Your shirt should look like this: If you know that you will only be wearing the tank top under low-cut shirts or dresses, you could stop here. However, if you want to be able to pair it with cardigans or wear it solo, keep going.

2. Now put on the other tank top. Look in the mirror, and put a sewing pin about 2 inches under your bust line (where the bottom of your bra hits). This tank top will become the overlay. Then take the tank top off.
3. Here's the next step. You are going to cut along all the seams on both shirts, so that you are left with two shirt fronts and two shirt backs. Discard one of the shirt backs. You will only need one. Keep both of the fronts.

4. Cut along the "under bust" line you marked with the pin.

5. Now flip the shirt over so the inside of the shirt is facing up. You will fold the bottom up about 1/4 inch...

...then fold over again about half an inch and pin.

Do this all the way across the bottom,

Using a straight stitch, sew across the top edge of the hem (about 1/16" away from the fold). Pull on the fabric a bit as you go so the stitches will have some stretch.

6. Measure your elastic. If the shirt won't need to stretch, make it the same width as the cropped shirt front. If it will need to stretch, make it as wide as your under bust front where the cropped overly will fall.

Using a safety pin attached to he end of the elastic, guide it through the overlay hem.


Pin the elastic on each side to be flush with the edge, even if it has to bunch a bit in the middle to fit.

7. Now you have the overlay, front, and back (your front should have the vertical slits cut--I just did mine in a slightly different order)

With shirt front outsides facing up, lay the overlay over the slitted front.

Next, lay the shirt back (inside facing up) over the shirt fronts and pin. The outside of both shirt fronts should face the outside of the shirt back.

Using a 1/2 inch seam allowance and straight stitch, stitch all raw edges together (be sure to reverse when you start and stop).

Turn rightside out, and voila! You're done.
A cheap,easy, cute and discreet nursing tank!
No comments:
Post a Comment